Let’s clear something up before you spend a dollar: you cannot fabricate a Bitcoin ASIC miner “from scratch” at home. SHA-256 ASIC chips — the BM1366, BM1368, BM1370 silicon at the heart of every modern miner — aren’t sold loose on a shelf for hobbyists, and even if they were, populating a multi-layer power-delivery PCB by hand isn’t a kitchen-table project. So when people talk about a “DIY ASIC miner,” what they actually mean — and what’s genuinely worth doing — is assembling a miner from a kit. The chip and the hard engineering are done; you do the build, learn the hardware inside out, and end up with a real miner you understand at the component level. That’s the honest, achievable version of DIY mining, and this is how to do it.
Why Build From a Kit Instead of Buying Assembled
A fully assembled Bitaxe is plug-and-play in minutes — and for most people that’s the right call. But there’s a real case for the kit route:
- You learn the hardware. Soldering the final components, seating the heatsink, wiring the power — by the end you know every part of your miner and what it does. When something fails later, you’re not guessing.
- Repair becomes possible. A miner you assembled is a miner you can fix. You know which connector is which, where the heat goes, and how the board is laid out.
- It’s the open-source ethos made physical. Bitaxe is fully open hardware — MIT-licensed schematics, public firmware. Building one yourself is participating in that, not just consuming it.
- It’s a genuinely satisfying project with a working, hashing miner as the payoff — not a dead toy on a shelf.
What it is not is a way to “save money on hardware by sourcing your own components.” A kit costs roughly what an assembled unit costs. You build it for the knowledge and the experience, not the discount.
The Realistic DIY Path: The Bitaxe DIY Kit
The Bitaxe DIY Kit is the most accessible real entry point into DIY Bitcoin mining. Here’s what it actually is, accurately:
- The board comes mostly pre-populated. Fewer than 15 components are left for you to solder by hand. This is a deliberate, achievable soldering project for someone with basic-to-intermediate electronics experience — not a PCB-from-scratch fabrication.
- The kit includes the hard parts: the ASIC chip, the ESP32 microcontroller, fan, heatsink, OLED display, and all supporting components.
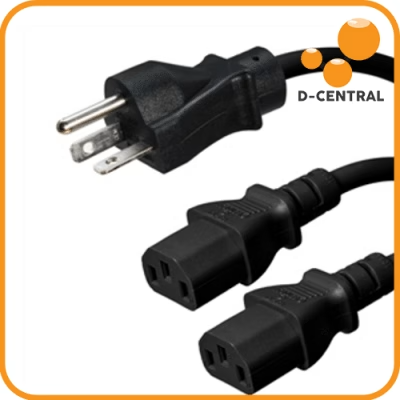
- You supply the build tools: a soldering iron, solder, flux, and a 5V 6A power supply with a 5.5×2.1mm barrel jack — D-Central sells a matching Bitaxe PSU if you don’t have one.
- You choose your ASIC chip variant at checkout — the silicon defines the generation. The result is a fully functional open-source solo miner running AxeOS and hashing SHA-256 against the live Bitcoin network.
That’s the whole pitch: a real miner, built by your hands, with the genuinely difficult engineering already handled. For everything about the Bitaxe ecosystem — every chip generation, every accessory — start at the Bitaxe Hub.
The Components, and What Each One Does
Understanding the parts is half the point of building. A Bitaxe-class miner is five functional blocks:
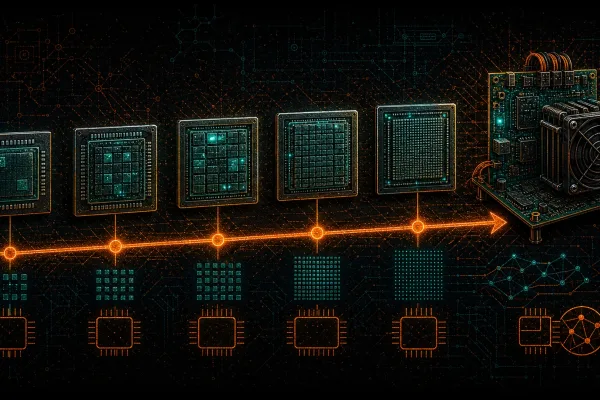
- The ASIC chip — the engine. A single SHA-256 mining chip (BM1368, BM1370, depending on variant). Everything else on the board exists to feed and cool this one component.
- The PCB and power delivery — converts your 5V input down to the precise low voltage the ASIC needs, at high current. This is the part that’s already engineered for you, and for good reason.
- The controller — an ESP32 microcontroller running AxeOS, the firmware that talks to your pool, manages the chip, and serves the web dashboard.
- Cooling — a heatsink and fan. The chip’s entire job produces heat; this block moves it away so the chip stays in spec.
- The power supply — an external 5V 6A brick. Low-voltage, low-risk, nothing exotic.
Note the power numbers: a Bitaxe draws roughly 15–20W total. This is a single-board solo miner, not a heater and not a full ASIC — don’t expect it to warm a room, and don’t confuse it with D-Central’s full-ASIC Space Heater Editions, which are an entirely different class of hardware.
Assembling It: The Process
The build itself is methodical, not difficult, if you don’t rush:
- Set up a clean, static-safe workspace. An anti-static mat and wrist strap matter — the ESP32 and ASIC don’t appreciate static discharge. Good lighting and a magnifier help with the small components.
- Solder the remaining components by hand. Follow the open-source assembly documentation. Clean joints, correct orientation, no bridges. Take your time on each — this is the part where care pays off.
- Inspect every joint before powering anything. A magnifier and a multimeter for continuity checks. Catching a bad joint here costs minutes; catching it after power-on can cost the board.
- Seat the heatsink properly. Good thermal contact with the chip is non-negotiable — a poorly seated heatsink means a throttling or dying ASIC. D-Central’s premium Bitaxe heatsinks and sockets upgrade cooling well beyond the basic option.
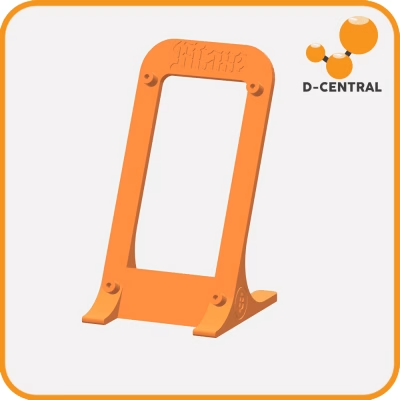
- Mount the fan and OLED, assemble into a case — a proper Bitaxe stand or case keeps it stable and ventilated on your desk.
- Power on and configure. Connect the 5V supply, join WiFi, enter your wallet address in AxeOS. If your soldering is clean, it hashes within minutes.
- Verify it’s actually working. Check the AxeOS dashboard for stable hashrate, accepted shares, and sane chip temperature.
Beyond the Bitaxe: Custom Full-ASIC Builds
If your idea of “DIY” leans toward full-power Antminer hardware, that’s a different kind of kit — not chip-level assembly, but custom integration. D-Central’s Loki DIY Kit is built around that: it integrates Antminer hashboards with control boards and power for custom 120V home builds, compatible with Braiins OS, Vnish, LuxOS, and D-Central’s own DCENT OS firmware. It’s the foundation behind the Antminer Slim Edition — and if you’d rather skip the integration work entirely, the Slim Edition is that build done for you, hand-assembled and stress-tested 24 hours in D-Central’s Laval, Quebec workshop. The DIY path and the finished-product path use the same parts; pick based on how much of the build you want to own.
After the Build: Tuning, Maintenance, Repair
Building it is the start. Running it well is ongoing:
- Tune within reason. AxeOS lets you adjust the operating point. Modest, careful changes while watching temps — not reckless overclocking that cooks the chip you just soldered in.
- Keep it clean. Blow dust off the heatsink and fan regularly. Dust insulates heat and chokes airflow.
- Update firmware. AxeOS gets real improvements; stay current.
- Use the build knowledge. When something does go wrong, you assembled this — you can diagnose and fix it. For full-ASIC repairs beyond a home bench, D-Central’s ASIC Repair service and our ASIC troubleshooting library are there.
The Bottom Line
You can’t build a Bitcoin ASIC miner from raw silicon at home — and anyone telling you otherwise is selling a fantasy. What you can do, and what’s genuinely worth doing, is assemble a real miner from a kit: solder the last components of a Bitaxe, integrate a Loki build, and end up with hardware you understand from the chip up. That’s the actual DIY mining path — not a shortcut to cheap hardware, but a route to real knowledge and a working solo miner you can run, tune, and repair yourself. That’s the Mining Hacker ethos in its purest form: don’t just own the miner, understand it.
Frequently Asked Questions
Can I really build an ASIC miner from scratch? No. ASIC chips aren’t sold loose to consumers, and populating a mining PCB from bare board isn’t a home project. “DIY mining” realistically means assembling a miner from a kit — like the Bitaxe DIY Kit, where fewer than 15 components are left for you to solder onto a mostly pre-populated board.
Do I save money building from a kit? No — a kit costs roughly what an assembled miner costs. You build it for the hands-on knowledge, the repairability, and the experience, not for a discount.
What skill level do I need? Basic-to-intermediate soldering. The Bitaxe DIY Kit is designed to be accessible; clean joints and patience matter more than expertise.
Is a DIY Bitaxe a space heater? No. A Bitaxe draws roughly 15–20W and produces negligible heat. D-Central’s space heaters are separate, purpose-built full-ASIC units.
Related Reading
 Space Heater Edition" width="80" height="80" loading="lazy" style="width:80px;height:80px;object-fit:contain;border-radius:6px;background:#1A1A1A;flex-shrink:0;">