
How to Start Bitcoin Mining at Home in 2026
Home » How to Start Bitcoin Mining at Home in 2026 Introduction: The Decentralization Imperative Bitcoin mining at home isn’t about getting rich quick. It’s…
$41.99 CAD
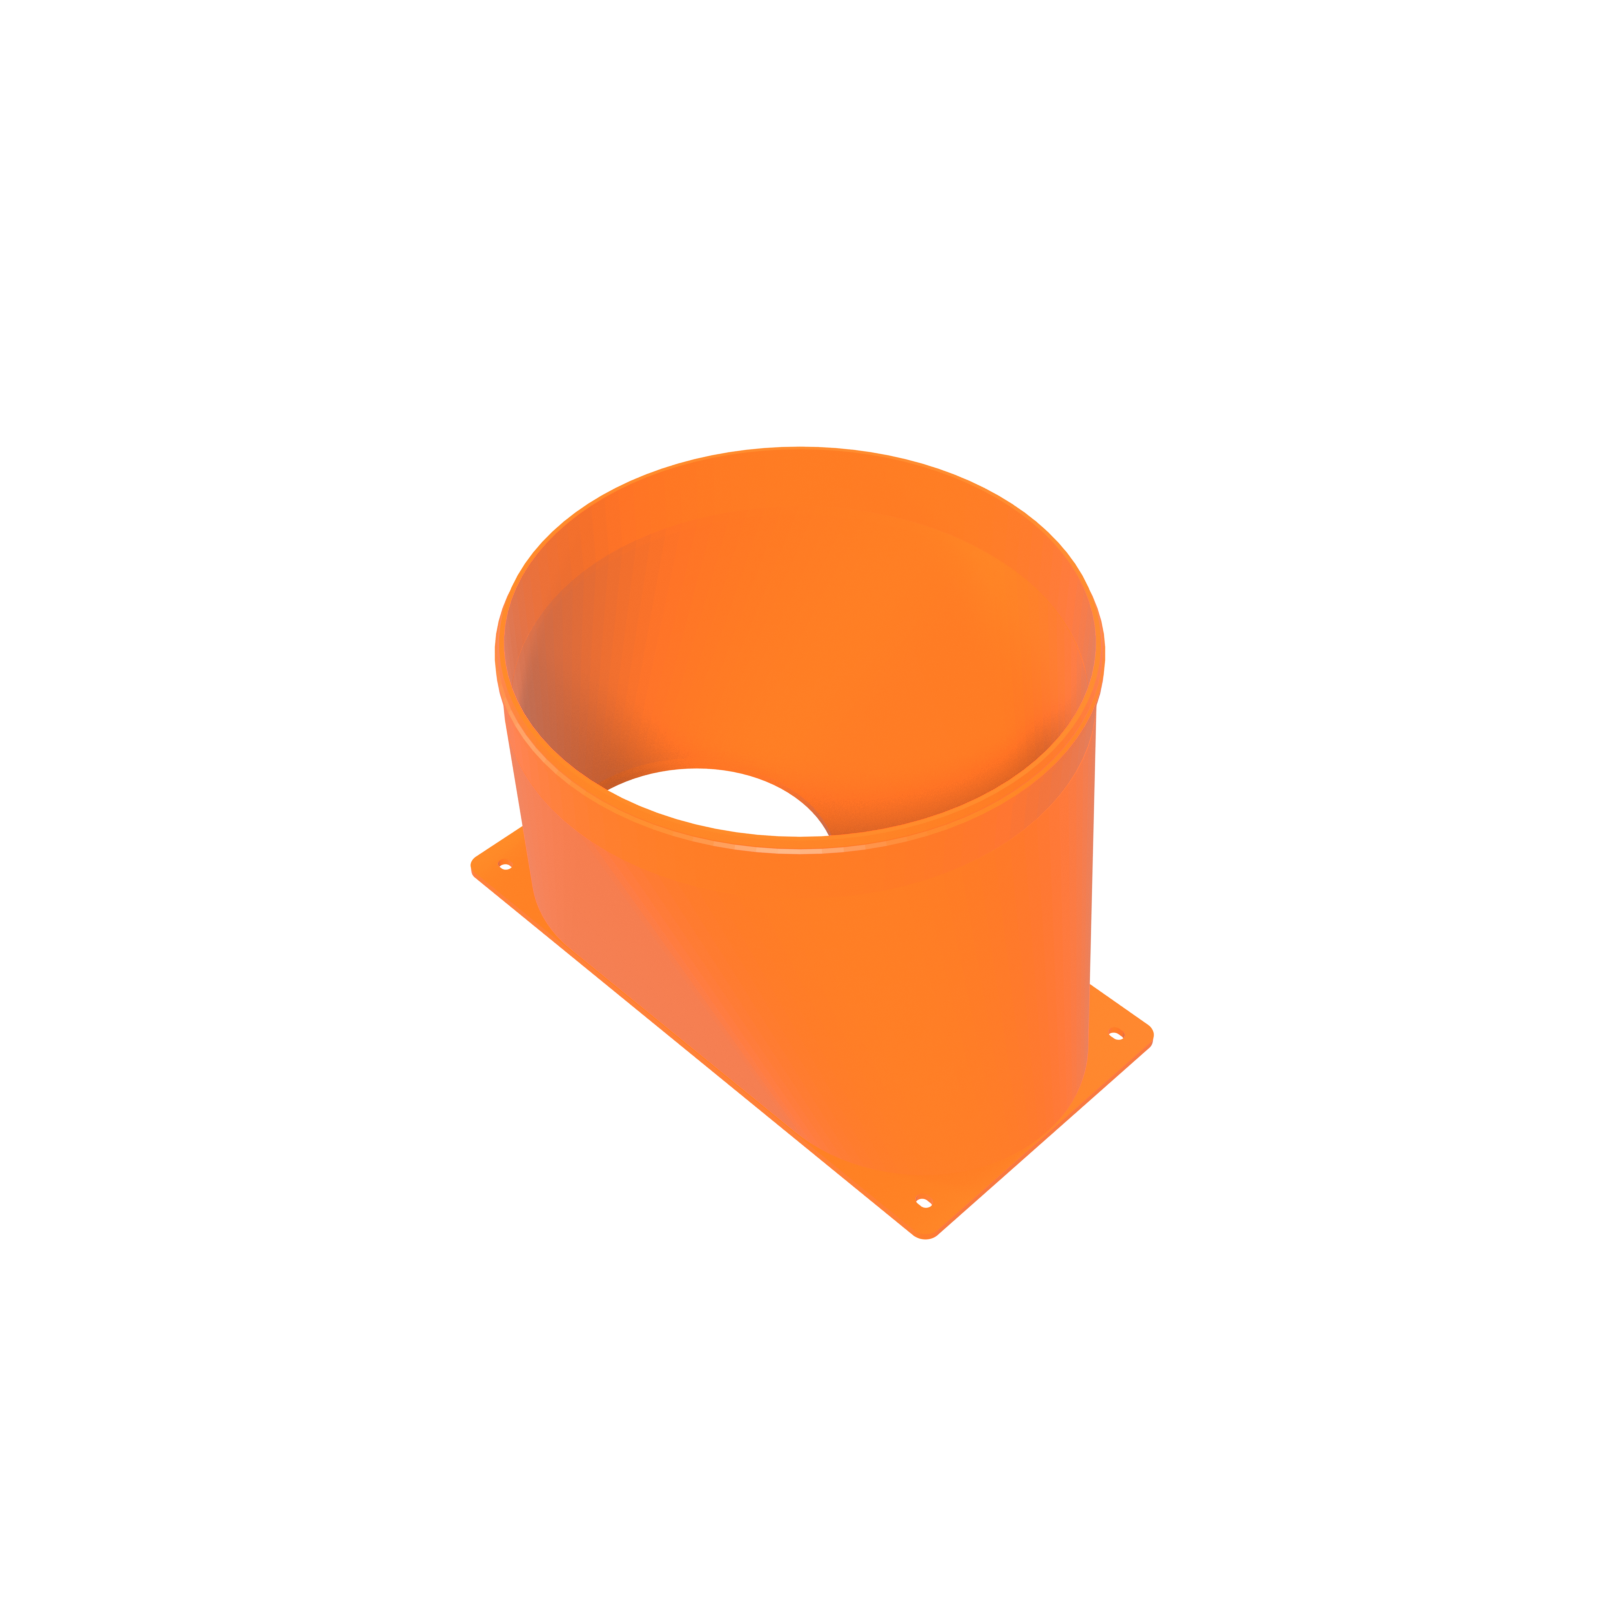
Canaan Avalon A15 duct shroud with an 8-inch collar, for long runs, bends and shared plenums. Captures both stacked 120 mm fans on the Avalon’s 122.0 mm pitch. Single-piece PETG, made to order in Montreal, Quebec.
High Demand — Pre-order Now, Ships in 5-10 Business Days
Purchase details
Save 3% when you pay in Bitcoin.
Choose a Canaan Avalon A15 shroud by the duct you are going to run, not by the machine. Duct costs you pressure by the metre, and it costs you more at every bend; a run that crosses a basement, climbs to a soffit, or feeds an inline fan two rooms away is a different job from a metre of hose out a window. This is the 8-inch member of the Avalon family, for exactly that job: same dedicated stacked twin-120 capture, a much larger pipe to breathe through.
The fan side is drawn to the Avalon exhaust face: two 120 mm fans stacked vertically on a 122.0 mm pitch with a 105.0 mm screw square, a millimetre a side away from the 120.0 mm Antminer pattern. Both columns merge inside the body and leave through one 8-inch collar.
Eight inches is also the size the popular inline duct fans and filter kits are built in, so this collar drops the Avalon into that ecosystem with no step-up fitting in the way.
The Canaan Avalon A15, and the archived A15XP CAD-derived interface it was drawn against, with two vertically stacked 120 mm exhaust fans: 122.0 mm pitch, 116.0 mm bore per fan, 2.0 mm sealing land per side. Other Avalon families use a different exhaust face and are not covered. The outlet takes 8-inch flex duct over a flex-over collar with a 203.2 mm retention bead and a 201.2 mm sealing land.
Running something else? Dual-120 Antminers use the 120.0 mm pitch and want the Antminer S19 / S21 dual 120 mm to 8-inch duct shroud. On a short run, or where 6-inch fittings are what you already own, the 6-inch Avalon version is the cheaper build. On metric ducting, including the ducting supplied in the Avalon kit, use the 200 mm metric version.
Air in a duct loses pressure to friction against the wall, and the smaller the pipe, the more wall there is per unit of air moving past it. That is why duct diameter matters more the longer the run gets: on a metre of hose the pipe barely registers, and on fifteen metres with three bends it is the dominant term. Sizing the collar up at the machine means you never have a step-up fitting sitting in the flow doing nothing but shedding pressure.
| Fits | Canaan Avalon A15, plus the archived A15XP CAD-derived interface — two vertically stacked 120 mm exhaust fans. Other Avalon families are excluded |
|---|---|
| Intake | Two stacked 120 mm fans, 122.0 mm vertical pitch, 105.0 mm screw square; 116.0 mm bore per fan, 2.0 mm sealing land per side |
| Outlet | 8 in flex duct, flex-over collar; retention bead 203.2 mm, sealing land 201.2 mm |
| Footprint (mm) | 250.0 × 203.2 × 165.0 |
| Mounting | 5.0 mm holes on 5.424 mm slots; 9 mm or larger washer |
| Material | PETG |
| Colour | Black or orange PETG |
| Construction | Single piece, no seams or glued joints |
| Design files | D-Central in-house design, open source under CC BY-SA 4.0 |
| Download | avalon_a15_dual_120_to_8in.zip — STL, CC BY-SA 4.0 licence, installation and safety guide |
| SKU | ADP-AVA15-8 |
| Fulfilment | Made to order in Montreal, Quebec |
Every shroud in this line is D-Central’s own drawing, and every one of them is given away. The files live at the 3D models download center under CC BY-SA 4.0: download them, change them, print them, sell them. Ducting an ASIC properly should not depend on who owns a CAD file. This one has its own card at the A15 8-inch entry, and the file is avalon_a15_dual_120_to_8in.zip — the STL, the CC BY-SA 4.0 licence and the installation and safety guide in one download. What this listing sells is the finished 8-inch Avalon shroud, printed to order in PETG in Montreal, Quebec and shipped from Canada, in black or in orange. Nothing about the file changes when you buy one; what buying it, or backing the D-Central fund page, does is pay for the next collar in the range.
See how the pieces chain together in the D-Central shroud and ducting system.
When the duct is long, has more than one bend in it, feeds an 8-inch inline fan, or carries the exhaust of more than one machine. On a short straight run to a nearby window the 6-inch Avalon shroud does the same job for less money and takes up less space behind the miner.
Yes, and that is the better order. Keep the large diameter where the air is hottest and fastest, then step down near the outlet with an 8-inch to 6-inch duct reducer if the wall port or window kit you already own is 6-inch. Reducing at the far end costs you less than reducing at the machine.
Nothing. The shroud bolts to the existing fan screw pattern and the machine keeps its own fans, its own tach signals and its own controller. There is no wiring change, no fan swap and no firmware involved: it is a plastic part on the outside of the chassis, and it comes off in a minute.
Because the shape is the point. A sheet-metal transition is limited to what can be folded and riveted, which is why most of them are a flat plate with a round hole in it. Printing lets the two stacked fan columns merge into one converging body with no seam and no rivet line.
| Weight | 387 g |
|---|---|
| Dimensions | 25 × 20.32 × 16.5 cm |
| Colour | Black, Orange |
Only logged in customers who have purchased this product may leave a review.
Home » How to Start Bitcoin Mining at Home in 2026 Introduction: The Decentralization Imperative Bitcoin mining at home isn’t about getting rich quick. It’s…
You have decided to mine Bitcoin. Maybe you want to contribute to network decentralization. Maybe you want to heat your home with a miner.
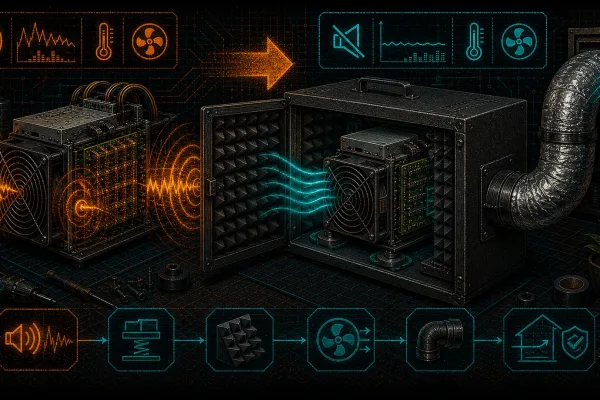
You bought an ASIC miner to stack sats. You plugged it in. And now your family is staging an intervention because your basement sounds like a leaf blower factory running overtime.
Last reviewed August 19, 2026.
Reviews
There are no reviews yet.