
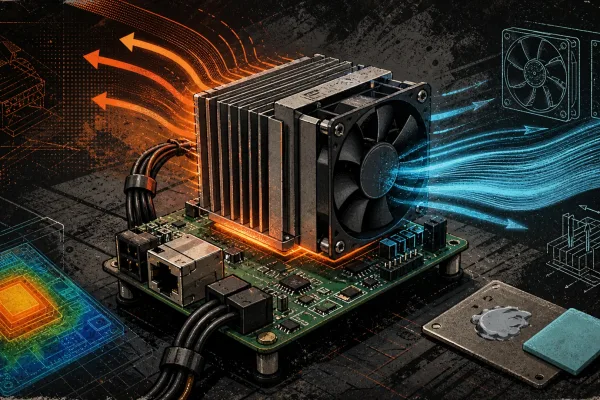
Bitaxe Cooling Solutions: Complete Thermal Management Guide
Every ASIC chip is a furnace in miniature. The BM1366 and BM1370 chips inside your Bitaxe are computing trillions of SHA-256 hashes per second, and every single hash generates heat.

$17.99 CAD
An 8 inch to 6 inch duct reducer for ASIC miner exhaust. A true tapered cone, not a plate with two holes, so the trunk steps down without a shoulder for the air to slam into. Made to order in PETG, shipped from Montreal, Quebec.
High Demand — Pre-order Now, Ships in 5-10 Business Days
Purchase details
Save 3% when you pay in Bitcoin.
An 8 inch to 6 inch duct reducer is the fitting that stops a size mismatch from turning into a weekend of re-ducting. You bought the 8-inch shroud because the machine deserves the cross-section, and then the wall penetration, the inline fan or the run that was already in the building turns out to be 6-inch. This part joins the two without you tearing anything out.
It is a cone, not a plate. The bore walks from 208 mm across the wide collar down to the 6-inch collar over a continuous taper, so the air changes diameter progressively instead of hitting a step and churning behind it. That is the entire design argument for the part, and it is the reason the cheap two-flange version costs you more than it saves.
Drawn in-house around the same collar standard as every other fitting D-Central makes, so it lands anywhere in the chain: straight off a shroud, straight into an elbow, straight onto a window port.
Standard 8-inch duct on the wide end, standard 6-inch on the narrow end, flexible or rigid on either side. Both collars are barrel-style with enough length to take a worm-drive band clamp, including over the wire helix of flex duct.
Every shroud, silencer, elbow, coupler, Y-splitter and window port in the line uses those two collar sizes, so this reducer is the bridge between the 8-inch half of the system and the 6-inch half. If you need to go smaller than 6-inch, that is the 6″ to 4″ Duct Reducer. If you need to join two ducts of the same size rather than change size, you want a coupler: 8″ Duct Coupler or 6″ Duct Coupler. And if the 6-inch side of your run is flex rather than rigid, pair it with the 6-Inch Flex Duct Adapter.
Place it as late in the run as the layout allows. Duct diameter is free airflow: keep the trunk at 8-inch for as much of the distance as you can and step down only at the point where something physically demands 6-inch, such as a wall sleeve, a window panel or the inlet of a 6-inch inline fan.
Every diameter change costs pressure. An abrupt one costs considerably more than a gradual one, because the flow separates off the step, recirculates behind it, and drags on the stream trying to get past. A taper keeps the stream attached to the wall the whole way through. You ducted the machine in order to move air; the correct shape at the one fitting where diameter changes is worth its price.
| Fits | Standard 8″ duct on the wide end, standard 6″ duct on the narrow end |
|---|---|
| Intake | 8″ duct |
| Outlet | 6″ duct |
| Footprint | 208.8 × 208.8 × 89 mm |
| Material | PETG |
| Colour | Black or orange PETG |
| Construction | Single continuous body — no assembly, no fasteners, no glued joints |
| Design files | Open source — free to download, use, modify and redistribute |
| Download | reducer_8_to_6.zip — STL, CC BY-SA 4.0 licence, installation and safety guide |
| SKU | DC-DUCT-RED-8-6 |
D-Central Technologies designed this reducer, drew the cone that walks the bore down from the 8-inch collar to the 6-inch one, and open-sourced the drawing. It is our geometry, not a remix of somebody else’s file, and it is published under CC BY-SA 4.0 at our 3D models download center. The part has its own card there: the 8″ to 6″ reducer model, free to download, modify, remix, print and sell. No licence to buy, no geometry locked behind a purchase.
Or take the file straight: reducer_8_to_6.zip holds the STL, the CC BY-SA 4.0 licence, and the installation and safety guide. This listing is the finished cone instead, made to order in PETG — black or D-Central orange — and shipped from Montreal, Quebec. The files stay free whichever way you go; buying the printed part, or backing the work through D-Central’s fund page, is what pays for the next design in the line.
The whole chain, one tolerance standard: browse the D-Central shroud and ducting system for the sizing guide and compatibility matrix.
As late as possible. Hold the 8-inch cross-section for the length of the run and step down only where something physically requires 6-inch. Reducing right at the shroud and then running ten metres of 6-inch is the layout to avoid: you pay the restriction over the whole distance instead of the last half-metre of it.
Yes, and people do. An expansion wants an even gentler included angle than a contraction to keep the flow attached, so a cone drawn as a reducer is not the ideal shape running the other way. At the flow rates a single ASIC produces it works fine, and it is a common way to step a 6-inch machine line up into an 8-inch shared trunk.
Yes, on any joint that will ever see load, and on a duct run that means all of them. A standard worm-drive band clamp on each collar is the normal answer. Both barrels are long enough that the clamp sits on the duct and the collar together rather than half hanging off the end.
Yes, provided you reduce late. The large collar at the machine gives the fans a low-restriction path out of the chassis, and the trunk carries that benefit for as long as it stays 8-inch. What you want to avoid is treating the reducer as the first fitting after the shroud rather than the last one before the wall.
Both. The collars are sized for standard 8-inch and 6-inch duct in either form. Flex slides over the barrel and the band clamp bites down over the wire helix in the usual way; rigid pipe slips on and clamps the same. Sheet-metal pipe is the quieter and lower-loss choice for long straight sections if you have the option.
| Weight | 154 g |
|---|---|
| Dimensions | 20.88 × 20.88 × 8.9 cm |
| Colour | Black, Orange |
Only logged in customers who have purchased this product may leave a review.
Every ASIC chip is a furnace in miniature. The BM1366 and BM1370 chips inside your Bitaxe are computing trillions of SHA-256 hashes per second, and every single hash generates heat.
Every ASIC miner ships with the same cooling strategy: move massive volumes of air across heatsinks using fans that sound like a jet turbine at close range. It works.
Most Bitcoin merchandise is mass-produced overseas with no connection to the culture. D-Central Technologies 3D prints every collectible in Montreal, Quebec — made by actual Bitcoin miners since 2016. Discover our Bitcoin Chess Set, Honeybadger figurine series, 3D filament paintings, and 140+ unique items you cannot find anywhere else.
Last reviewed August 19, 2026.
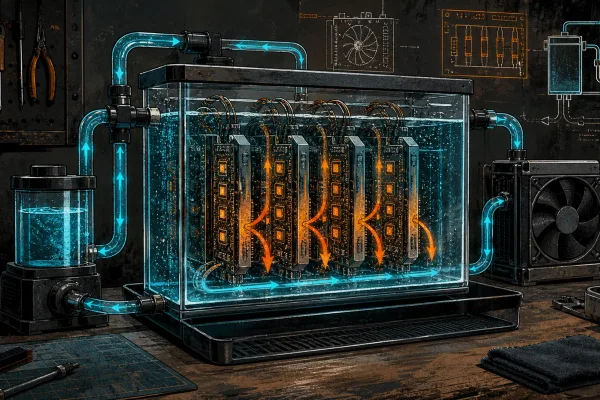

Reviews
There are no reviews yet.