
Bitaxe Cooling Solutions: Complete Thermal Management Guide
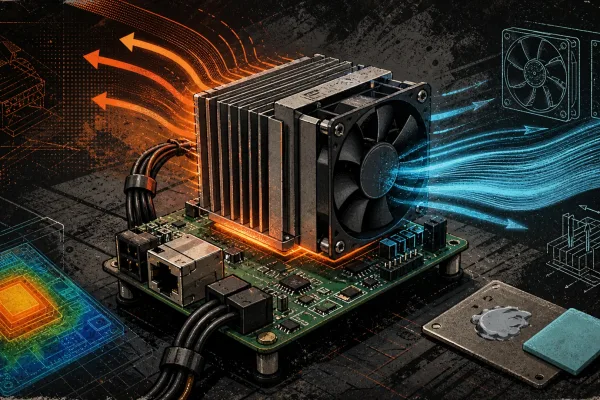
Every ASIC chip is a furnace in miniature. The BM1366 and BM1370 chips inside your Bitaxe are computing trillions of SHA-256 hashes per second, and every single hash generates heat.

$24.99 CAD
A 6 inch window vent port that gets miner heat out of the room for good. Flanged through-panel plate with a gasket groove and insect-screen retention, so nothing is wedged under a sash. PETG, made to order in Montreal, Quebec.
High Demand — Pre-order Now, Ships in 5-10 Business Days
Purchase details
Save 3% when you pay in Bitcoin.
A 6 inch window vent port is the part that finally gets the heat out of the room. Everything upstream of it — the shroud, the elbows, the trunk — only matters if the run actually terminates outside the building. The usual improvised ending, a length of flex duct wedged under a cracked sash, lets almost as much air back in as it pushes out, whistles, and falls out of the window the first time somebody closes it.
This is a proper termination: a flanged plate with a 6-inch collar on the inside face, a gasket groove around the flange so the seal has somewhere to sit, and retention on the outer face for an insect screen. It mounts through a panel and it stays where you put it. Front to back the whole body is 39 mm, so the port sits tight against the panel instead of standing off it — on a sliding window that is the difference between a sash that closes onto the panel and one that will not.
Drawn in-house for the people who mine in the room they live in — apartments, basements, garages, spare bedrooms — where the exhaust has to be dealt with properly and the building cannot be modified.
Standard 6-inch duct on the inside collar, rigid or flexible. The outside is a flanged face designed to mount through a panel: plywood, acrylic or rigid foam board cut to fill a sliding window opening is the classic renter-friendly approach, and a permanent wall penetration works exactly the same way.
If your trunk is 8-inch, terminate it at 8-inch with the 8″ Window Exhaust Port rather than reducing at the wall. If the last section into the port is flex duct and you would rather have a collar drawn specifically for it, there is the 6-Inch Flex Duct Window Vent Port. And if the duct reaching the window is 8-inch but the panel opening is not, the 8″ to 6″ Duct Reducer goes immediately before this part.
The window itself is untouched, and the whole assembly lifts out in one piece when the season changes or the lease ends.
A duct hanging out of a gap is not a closed system. Warm exhaust leaves through the top of the gap while room air is pulled back in around the bottom, which is why an unsealed window setup can run all day and never really cool the room. Sealing the opening with a panel and giving the exhaust one defined exit turns the run into an actual one-way path out of the building. The gasket groove is there so that seal survives being taken apart and put back, and the screen retention is there because an open 6-inch hole facing a garden is an invitation.
| Fits | Standard 6″ duct — terminates a run at a window or panel |
|---|---|
| Intake | 6″ duct |
| Outlet | Open exhaust |
| Sealing | Gasket groove in the flange face |
| Screen | Insect-screen retention on the outer face |
| Footprint | 210 × 210 × 39 mm |
| Material | PETG |
| Colour | Black or orange PETG |
| Construction | Single continuous body — no assembly, no fasteners, no glued joints |
| Design files | Open source — free to download, use, modify and redistribute |
| Download | window_port_6in.zip — STL, CC BY-SA 4.0 licence, installation and safety guide |
| SKU | DC-DUCT-WIN-6 |
D-Central Technologies designed this port — the flange, the gasket groove, the screen retention — and publishes it open source under CC BY-SA 4.0 at the 3D models download center: free to download, modify, remix, print and sell. Its card is the 6″ window exhaust port model. Window ports get modified a lot, because every window opening is a different shape, and that is a good reason for our geometry to be in your hands as well as ours.
The download is window_port_6in.zip: STL, CC BY-SA 4.0 licence, and the installation and safety guide. This listing is the finished port, made to order in PETG — black if you want it to disappear into the window, orange if you want it to look like ours — and shipped from Montreal, Quebec, with the collar cut to the same standard as every other 6-inch fitting in the line. The file is free and stays free; the printed part, or D-Central’s fund page, is what funds the next design.
Shroud at the machine, port at the window, and every fitting between them from the same drawing set: see the D-Central shroud and ducting system.
No. The standard approach is a filler panel cut to the shape of a sliding window opening — plywood, acrylic or rigid foam — with the port mounted through the panel. The glass and the frame are untouched, the panel lifts out, and there is nothing to explain to a landlord at the end of a lease.
Some will, when the machine is off, unless there is a damper in the line. A commercial backdraft damper handles it today, and the print-in-place blast gate is being drawn for exactly this job. While the machine is running, the exhaust holds the path one-way on its own.
Either clamps to the collar. If the last stretch is flex and you would rather have a collar drawn around flex specifically, the 6-inch flex duct window vent port is the version for that. On a run that is mostly rigid, this is the port you want.
Yes, nothing about it is directional. Putting an intake port on one side of a room and an exhaust port on the other is a sound way to give a machine outside air rather than letting it recycle its own heat, and it is often the single biggest improvement available in a small room.
Yes, the 8″ window exhaust port. Match the port to your trunk size rather than to the machine: a 6-inch run should end in this one, an 8-inch run should end in that one.
| Weight | 173 g |
|---|---|
| Dimensions | 21 × 21 × 3.9 cm |
| Colour | Black, Orange |
Only logged in customers who have purchased this product may leave a review.
Every ASIC chip is a furnace in miniature. The BM1366 and BM1370 chips inside your Bitaxe are computing trillions of SHA-256 hashes per second, and every single hash generates heat.
Every ASIC miner ships with the same cooling strategy: move massive volumes of air across heatsinks using fans that sound like a jet turbine at close range. It works.
Most Bitcoin merchandise is mass-produced overseas with no connection to the culture. D-Central Technologies 3D prints every collectible in Montreal, Quebec — made by actual Bitcoin miners since 2016. Discover our Bitcoin Chess Set, Honeybadger figurine series, 3D filament paintings, and 140+ unique items you cannot find anywhere else.
Last reviewed August 19, 2026.

Reviews
There are no reviews yet.