There has never been a better time to own a 3D printer and a bitcoin miner at the same time. The gap between “I need a duct adapter for this machine” and “I have one, printed overnight, in my hands” has collapsed to the cost of a spool of filament — if you know which files to trust and what your printer can actually produce. This is a field guide to the state of 3D printed bitcoin miner parts in 2026: what exists, what is genuinely printable, where the free files live, and when buying the finished part is the smarter move.
The State of Printable Mining Gear
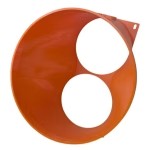
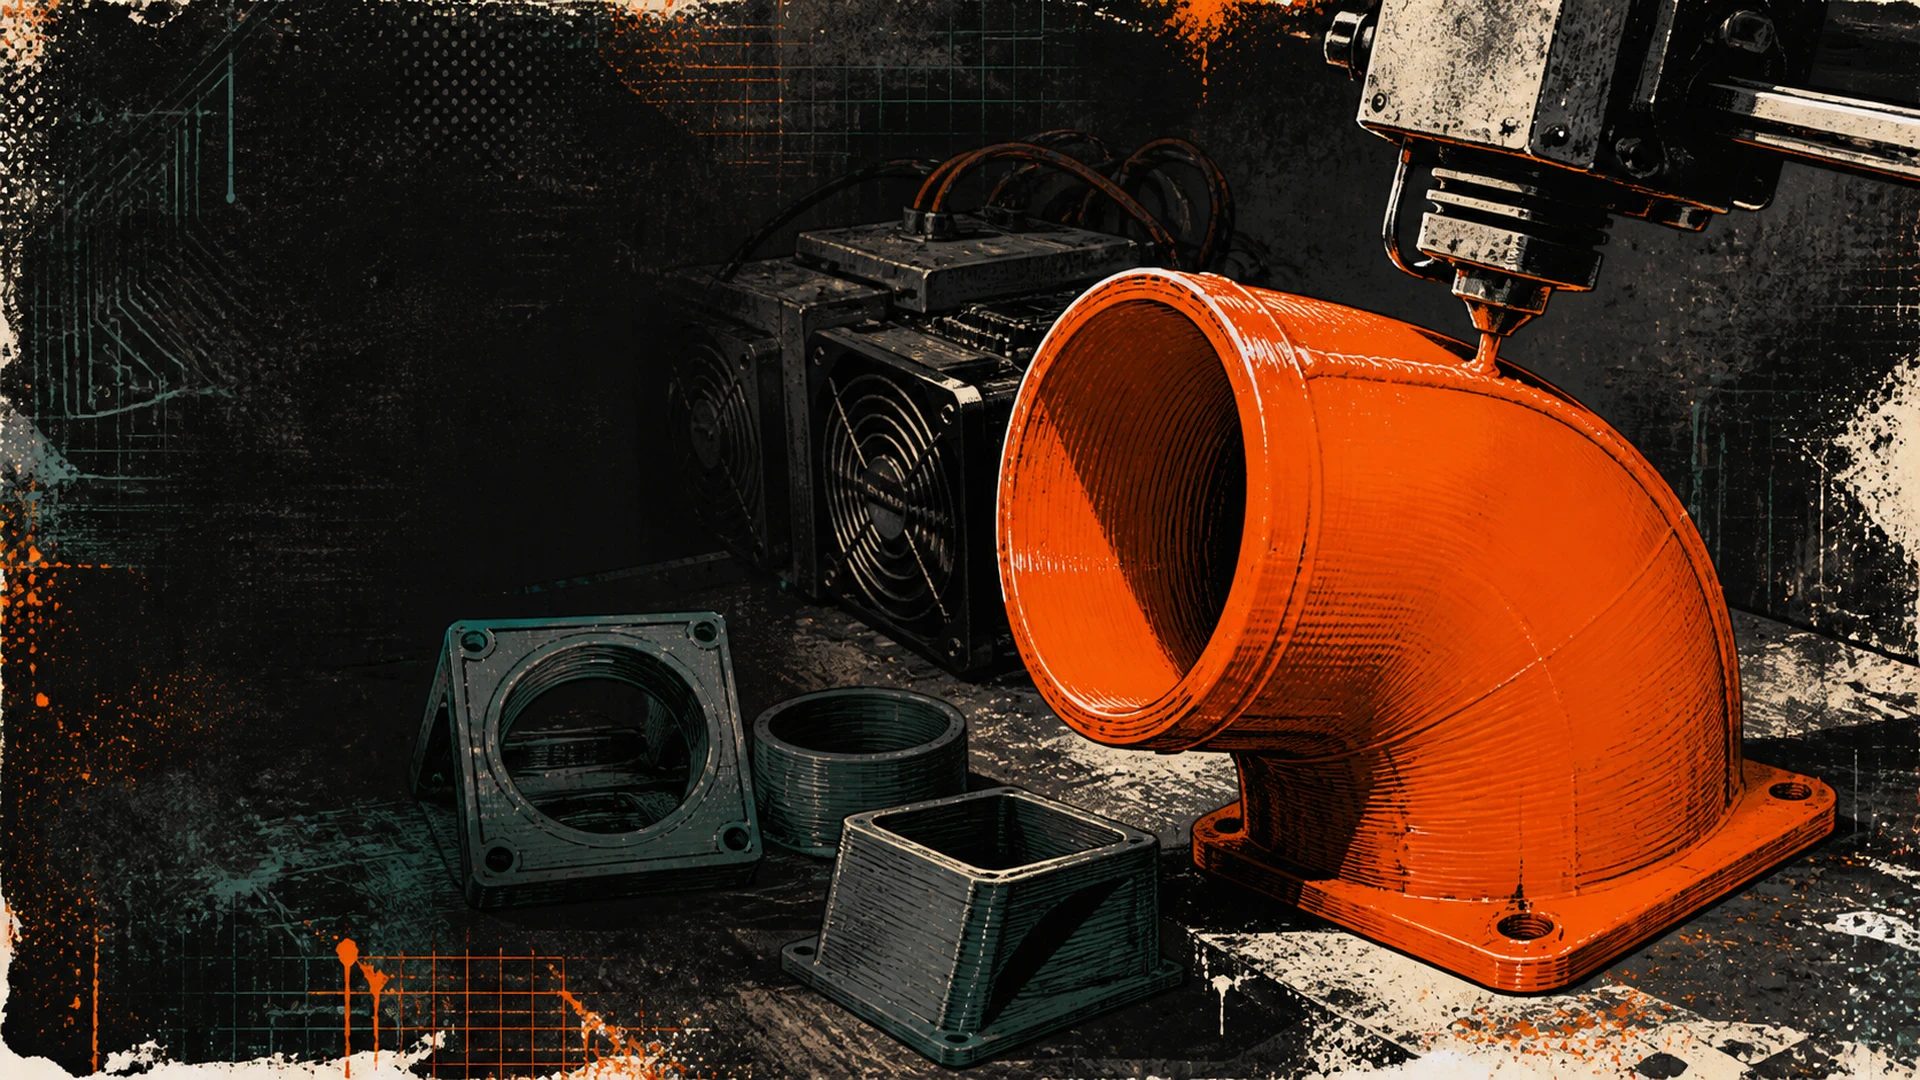
Almost everything that bolts to the outside of an ASIC miner can now be printed: exhaust shrouds that capture one or two fans into a duct collar, duct fittings (couplers, reducers, elbows, wyes, window ports), expansion-chamber silencer bodies, foam-filter frames for the intake side, and fan adapter plates that let a 140 mm fan sit on a 120 mm mount or vice versa.
The entire D-Central line — every shroud, fitting, silencer, and filter frame we sell — is open source under CC BY-SA 4.0, with the STL files free to download at /3d-models/. Anyone may print them, modify them, or sell prints of them, including commercially. We publish that proudly, not grudgingly: open file sharing is what made 3D printing genuinely useful to miners in the first place, and putting our own catalog under the same terms is how we keep that going. If you want the design reasoning behind the parts themselves, our shroud and ducting catalog and the guide to why shrouds matter at farm scale are the places to start.
A quick map of what you will find in the library at /3d-models/:
- Model-fit shrouds — dual 120 mm designs for S19-class and standard S21 machines in 6-inch and 8-inch versions, a Whatsminer 140 mm shroud, and mount-style variants like the bayonet quick-release.
- Duct fittings — couplers, reducers, 45-degree elbows, 8-inch wyes and 6-inch wyes, and window ports. Sizing between 6 and 8 inch is its own topic — see 6-inch vs 8-inch duct.
- Acoustic bodies — expansion-chamber silencer designs, published with the chamber and quarter-wave geometry that does the acoustic work.
- Intake-side parts — foam filter rings (see the dust filter guide) and idle-position parts like the threaded blank-off cap.
What Makes a Part Printable in One Piece
Every part in the library is designed as a single piece. That is a deliberate engineering constraint, not a style choice: a one-piece airway has no seams to leak, no glue joints to fail in warm moving air, and no assembly steps for a user to get wrong. But single-piece design collides head-on with the hardest constraint in consumer 3D printing — the build plate.
A dual-fan shroud for an S19-class machine has to span two 120 mm fans plus flanges, which puts it around 250 mm across. That fits a common 256 mm print bed with millimetres to spare, and most of the line is deliberately engineered to that envelope. The bigger designs — full housing wraps, the 8-inch wye — need a larger-format plate, and one of them ships with instructions to be placed diagonally because it only fits corner-to-corner.
And then there is the design that taught us where the wall is. We wanted a shroud that captured an S19’s exhaust and its power supply’s exhaust in one piece. The finished geometry measured 404.8 mm on its longest axis — longer than any real build plate we could point at, diagonal placement included. It was not a bad design; it was an unprintable one, and no slicer setting fixes geometry. We withdrew it and shipped the better answer instead: a shroud with a 30 mm spill lip that intercepts part of the PSU’s airstream while staying inside a real printer’s envelope. When you evaluate any big downloaded mesh, check its bounding box against your plate before you fall in love with it.
Material Talk, Kept General
We keep material advice general on purpose — your printer, your profiles. The one principle that matters: exhaust-side parts live their whole lives in warm, fast-moving air, and PLA’s low softening temperature makes it the wrong material for that duty. PETG’s heat tolerance is common knowledge in the printing world and is the sensible floor for anything downstream of a miner’s fans. Our own shroud line is printed in PETG throughout, in black or D-Central orange, and that is what we would suggest to anyone printing their own. Intake-side parts like filter frames have an easier life. That is as far as we will go — no print profiles, no temperatures, no printer recommendations. Your slicer’s stock profiles for a given material are a better authority on your machine than we are.
Buy or Print? The Math
If you own a printer, printing is cheaper. That is arithmetic, not a concession — a shroud’s worth of filament costs a fraction of any finished part’s price, and the license was chosen specifically so that arithmetic works in your favor.
What buying gets you is everything around the print: a made-to-order part produced in the material the duty calls for, in the orientation the geometry wants, by people who have already eaten the failed-print learning curve — plus every future design revision funded. Purchases and the fund are what pay for the CAD hours, the measurement work, and the revisions that make the free files worth downloading in the first place. The full made-to-order line is at /shrouds/.
There is also a hybrid path we actively recommend to anyone outfitting a whole room (and if that is you, read the ventilation guide and run the ventilation calculator first): buy one, verify it fits your actual hardware, then print the rest from /3d-models/. Both sides of that transaction are working as designed.
Verify a Downloaded Mesh Before You Trust It
A mesh from the internet — ours included — deserves inspection before it earns eight hours of printer time. The checklist:
- Watertight? A printable mesh must be a closed, manifold solid. Most slicers and free mesh tools will flag holes and non-manifold edges on import.
- Wall thickness. Check the thinnest walls against what your machine can actually produce. A wall thinner than roughly two extrusion widths may print as lace or not at all. We have quarantined one of our own early designs for exactly this failure — a shell that dipped below a single extrusion width — which is why the check is on this list.
- Degenerate geometry. Zero-area triangles and similar artifacts commonly trigger a slicer’s auto-repair on load. Usually harmless, but know it happened — a mesh that needed repairing on import is a mesh worth looking at twice.
- Does it match your machine? This is the big one. Any mesh you pull off the internet was drawn to one machine’s geometry, so put its fan pitch, screw pattern and panel width next to the miner in front of you before you commit eight hours of printer time to it.
Where a File’s Dimensions Come From
Here is a truth about every open hardware ecosystem that most file listings will not tell you: a mesh is only ever as good as the geometry it was drawn to. Some files are built from factory documentation and exact CAD of real parts; some are traced off a photograph. Both print the same. They do not fit the same, and that gap is where wasted filament comes from.
Our own catalog answers that question with numbers rather than adjectives: fan pitch, screw square, flange size, collar diameter and minimum flow area are printed on the product pages and carried into the files, so anyone can check a part against their machine or against a competing design. When you download files from anywhere, ask for the same thing — the dimensions the part was drawn to, stated in millimetres. A library that publishes them is a library you can work with.
FAQ
Are the STL files really free?
Yes. Every file at /3d-models/ is licensed CC BY-SA 4.0 — free to download, print, and modify. No accounts, no unlock tiers, no “personal use only” asterisk.
Can I sell prints of D-Central parts?
Yes, the license explicitly allows commercial use. The conditions are the standard CC BY-SA pair: credit the source, and share any modified versions under the same license. A print farm selling our shrouds is the license working, not a loophole.
What if a printed part doesn’t fit my miner?
Start with the numbers: manufacturers do change fan panels between batches, so put your machine’s fan pitch and screw pattern next to the interface dimensions we publish for every part in the line. If your machine differs, the files are open — edit them, and share the variant back if you can.
Why would I buy a part when the file is free?
Because you do not own a printer, do not want the learning curve, or want to support the design work — made-to-order purchases at /shrouds/ and contributions to the fund are what keep the library growing and the revisions coming. Print or buy: both answers are correct.