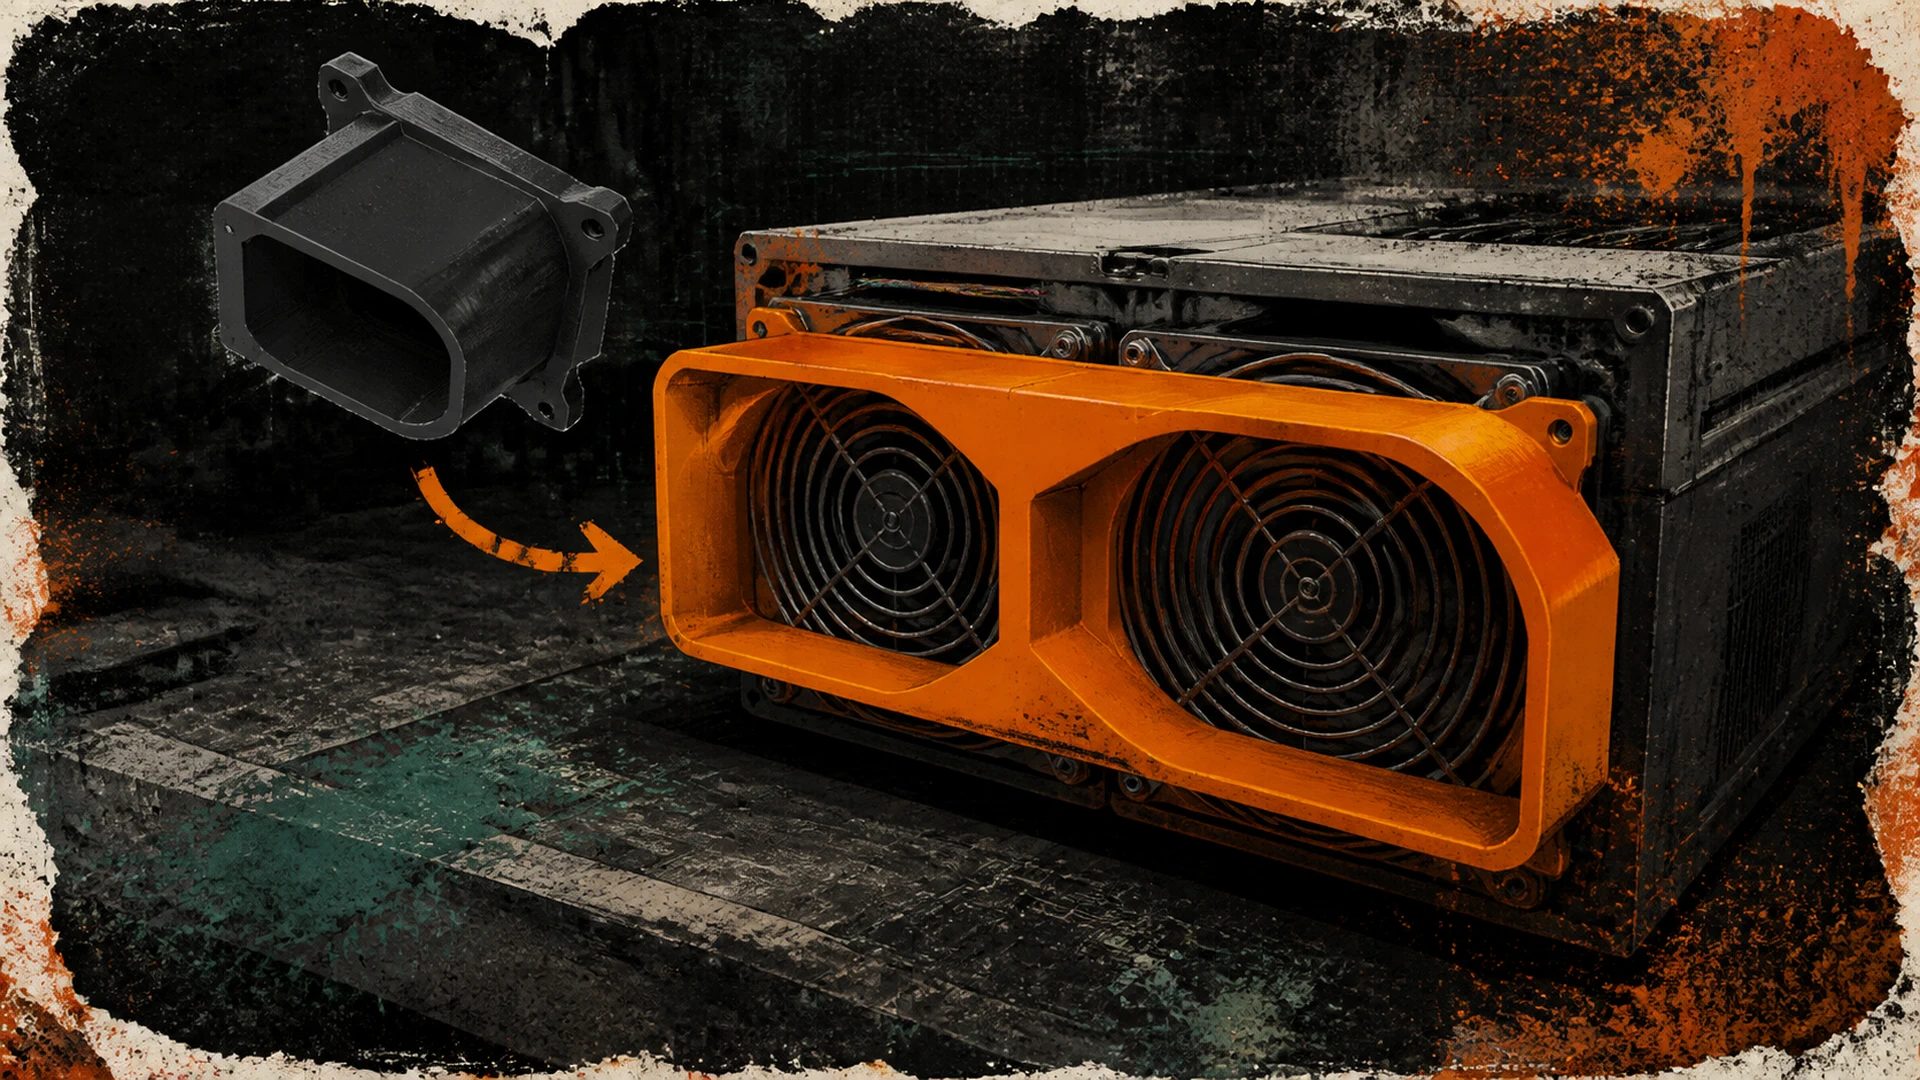
Search for a duct adapter for your miner and you will drown in Antminer gear. Dual-120 shrouds, 120 mm silencers, 120 mm filter rings — an entire aftermarket built around Bitmain’s two side-by-side 120 mm fans. Bolt any of it to a Whatsminer and you will discover, four screws in, that none of it lines up. MicroBT went its own way: one 140 mm fan per end, on its own flange, with its own screw pattern.
This post covers what that actually means when you want to duct an M30S or M50 out a window or into a trunk line: why the 120 mm ecosystem doesn’t fit, what the Whatsminer mounting situation really looks like, and how our WM140 shrouds handle it, from the D-Central shroud line.
The 140 mm reality on MicroBT M-series
Air-cooled Whatsminers of the M30S and M50 era move their air with 140 mm fans — a single fan per end — where an Antminer S19 or standard S21 uses a pair of 120 mm fans side by side. That one design decision splits the ducting world in two:
- Fan count: a dual-120 shroud like our Antminer S19/S21 dual-120 to 6 inch is a converging plenum that captures two fan outlets and merges them. A Whatsminer has one outlet. The whole plenum geometry is wrong before you even reach for a screwdriver.
- Fan size: 140 mm versus 120 mm means a different bore, a different sealing land, and a different swept area to capture.
- Screw pattern: the dual-120 world sits on a 105 mm screw square. The Whatsminer 140 mm flange uses a wider pattern in the 124.5–125 mm range — no amount of slot slack in a 105 mm part reaches it.
So the answer to “will an Antminer shroud fit my Whatsminer” is no — not close, not even with washers and optimism. You need a part designed around the 140 mm single-fan face.
The bare-flange mounting situation
Here is the part most listings gloss over. On these machines the exhaust fan bolts to a bare flange — you are mounting your adapter to the fan’s own screw bosses, not wrapping the whole housing. Our WM140 adapters are built for exactly that: they are bare-fan-flange adapters, not housing wraps, and we say so on every product page.
The screw pattern itself has a wrinkle. Across the 140 mm fan world the mounting pitch splits between 124.5 mm and 125.0 mm depending on the fan fitted. Rather than guess which one your unit carries, the WM140 flange uses slotted screw holes (4.5 × 5.3 mm) that deliberately span both pitches.
The WM140 shrouds: 6 inch and 8 inch
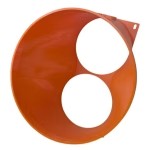
The two shipping Whatsminer adapters share the same architecture: a single-piece converging shroud on a 154 mm square flange, slotted screw holes spanning the pitch split, a 1.0 mm gasket groove on the mount face, and a flex-over duct collar — the flex duct slips over the collar and clamps onto a recessed land, so the clamp has something real to bite.
| Model | Duct size | What the geometry says |
|---|---|---|
| Whatsminer 140 mm to 6 inch | 6 inch flex | Measured minimum flow area 16,595 mm² against the 140 mm fan’s own 15,174 mm² discharge — a 1.09 ratio, so the adapter is not the choke point. |
| Whatsminer 140 mm to 8 inch | 8 inch flex | Flow-area ratio 1.49 against the fan discharge — the low-restriction pick for long runs and shared trunks. |
Both figures are geometry measurements taken off the shipping mesh, and they state plainly what other listings say with adjectives: a cross-section that never necks down below the fan’s own discharge is the design goal, and on these two parts the measured mesh confirms it.
One assembly detail worth knowing before you fit one: the current r5 transition on the 6 inch adapter clears 11.53 mm of driver room over all four fan screws, so a standard bit reaches every fastener with the shroud in place. The 8 inch never needed that rework — its screws look straight up the open duct.
Fitting notes: use washers. The flange holes are slots, and a bare M4 pan head does not leave much bearing surface — a 9 mm flat washer or the miner’s own large-head fan screws solve it. And if you are new to ducting an ASIC at all, start with the Bitcoin mining ventilation guide before you buy anything.
Quieting the 140: the silencer option
The single 140 mm fan on a Whatsminer is the machine’s voice, and ducting alone moves the heat, not all of the noise. For that there is the 140 mm expansion-chamber silencer to 8 inch duct — a 230 mm reactive muffler body on the same 154 mm slotted flange, and the largest-bore, lowest-restriction silencer in the line (measured minimum flow area 22,445 mm²).
The acoustic work is done by the geometry. The expansion chamber reflects part of the sound energy back toward the fan at the step change in cross-section, and the tuned quarter-wave branch adds a narrow notch, dimensioned for 750 Hz nominal and landing nearer 653–675 Hz once mouth end-correction is applied. That is a checkable design, which is more than the percentage figures in this category offer: a percentage with no measurement distance, frequency weighting or load condition behind it describes nothing at all. For the physics of what a reactive muffler can and cannot do on an ASIC, read the ASIC noise reduction guide.
Intake side: filter the 140 too
Exhaust ducting solves heat; dust kills fans and coats heatsinks. The 140 mm filter ring is a one-piece foam pre-filter frame for 140 mm intake fans, with radial slots spanning the same 124.5/125.0 pitch split. Its 160 mm flange is deliberately oversized, giving the frame a full bearing land on a Whatsminer face reported at around 155 mm rather than perching it on the edge. The grille blocks a measured 16.5% of the opening before filter media, and foam is not supplied. Single-fan locations only.
While you are on the intake side: the 140-to-120 fan adapter plate mounts a common 120 mm fan on a 140 mm location, and its mirror, the 120-to-140 plate, goes the other way on machines like the S9. Both are single-fan-location parts only.
Metric duct sizes are coming
If you run European ventilation gear — Blauberg-class inline fans and 150/160/200 mm metric flex — the imperial collars have always been the awkward joint in the system. Whatsminer-to-metric adapters in 150 mm, 160 mm and 200 mm are now available: 150 mm, 160 mm and 200 mm. The same measure-first rules apply.
The farm angle: rows of Whatsminers into a trunk duct
One M50 in a garage is a window-exit problem. Twelve of them in a room is a trunk-duct problem, and this is where per-machine adapters earn their keep: each machine gets its own 8 inch takeoff, and the takeoffs feed a common trunk to the exhaust wall. The 8 inch adapter is the right takeoff for that job precisely because of its 1.49 flow-area ratio — the adapter stays out of the way and lets you do the real engineering at the trunk.
The supporting fittings are the same 6 inch family the Antminer side uses: duct couplers to join runs, 45-degree elbows where the geometry demands a turn (two gentle 45s beat one hard 90), and a window port at the exit. Size the room’s total airflow the proper way: put your machine count and heat load into the mining room ventilation calculator and let the arithmetic, not the adjectives, size your trunk and exhaust fan.
Open source, on purpose
Every shroud in this post is an open-source design, published under CC BY-SA 4.0 in our free 3D models library. Download the STL, print it on your own machine, modify it for your weird rack, sell your prints if you like — the license genuinely permits all of it, and we mean it. We sell printed parts for the people who want a part in a box instead of a printer project; the files are free for everyone else. That is the deal, and we are proud of it.
Browse the full Whatsminer family — shrouds, silencer, filter ring and fan plates — on the shroud hub.
Whatsminer ducting FAQ
Will an Antminer shroud fit a Whatsminer?
No. Antminer shrouds are built for two side-by-side 120 mm fans on a 105 mm screw square; a Whatsminer has one 140 mm fan per end on a wider 124.5–125 mm pattern. Fan count, bore and screw pattern are all wrong. Use a 140 mm single-fan adapter.
Should I duct my M50 to 6 inch or 8 inch?
Both shipping adapters keep their minimum flow area above the fan’s own discharge area — 1.09 ratio on the 6 inch, 1.49 on the 8 inch (geometry measurements, not airflow tests). Short, straight run to a window: 6 inch is compact and fine. Long runs, elbows, or multiple machines into a trunk: take the 8 inch. Metric 150/160/200 mm versions are available for EU ducting.
What screw pattern do the WM140 adapters bolt to?
The 154 mm square flange carries slotted holes, 4.5 × 5.3 mm, that span both the 124.5 mm and 125.0 mm mounting pitches found across the 140 mm fan world, so one part lands on either. Use a 9 mm flat washer or the miner’s own large-head fan screws so the head gets real bearing surface on the slot.
Can I actually make a Whatsminer quiet?
Quieter, yes. Ducting moves the heat and takes the exhaust jet out of the room, and the 140 mm expansion-chamber silencer puts a reactive muffler body in the duct path on top of that. For the realistic limits of ASIC quieting, read the noise reduction guide; if the goal is a machine that belongs in a living space, start from the quietest Bitcoin miners instead.